Setting up Trial Tickets
Set up trial tickets
You can create trial tickets from an activity’s Tickets tab.
How to add a trial ticket
- Open the activity you want to add a trial to.
- Open the Tickets tab.
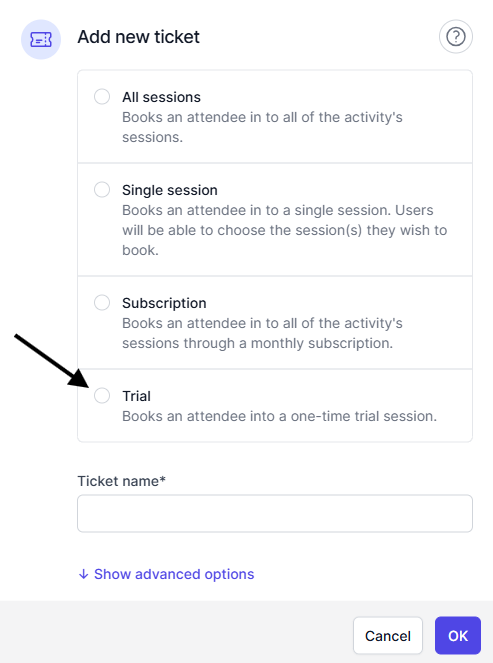
- Select Add New Ticket and select Trial.
Trial ticket options
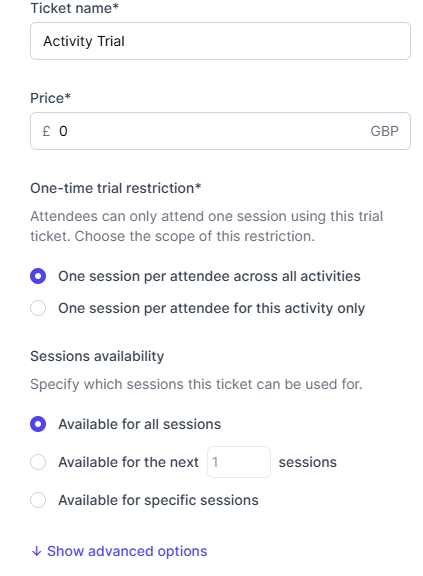
Price
- Leave at 0 for a free trial.
- Enter an amount to charge for the trial.
One-time trial restriction
Choose how strictly trials are limited:
- One session per attendee across all activities — each attendee can use only one trial across your whole business. (Recommended to prevent repeat trials.)
- One session per attendee for this activity only — each attendee can use one trial for this activity, but may take trials for other activities.
Sessions availability
Control which sessions the trial can be used for:
- Available for all sessions — trial valid for any upcoming session in this activity.
- Available for the next X sessions — trial valid for the next X upcoming sessions after booking.
- Available for specific sessions — choose particular dates or days when the trial is valid.
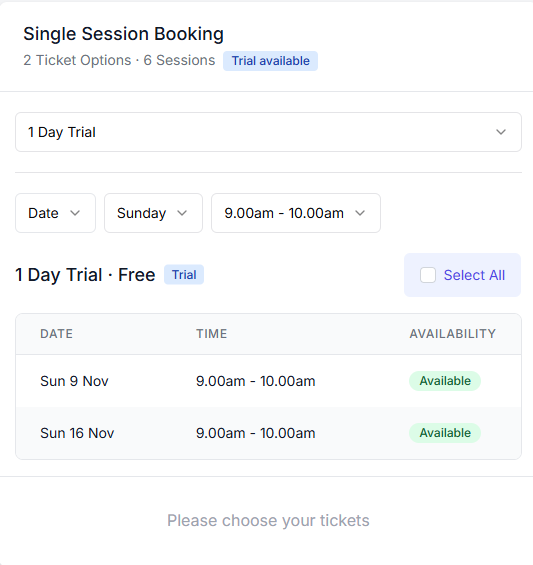
What users see
After you save the trial ticket, users will see that a trial is available for the activity. They follow the normal booking flow and complete the same fields you require at checkout.
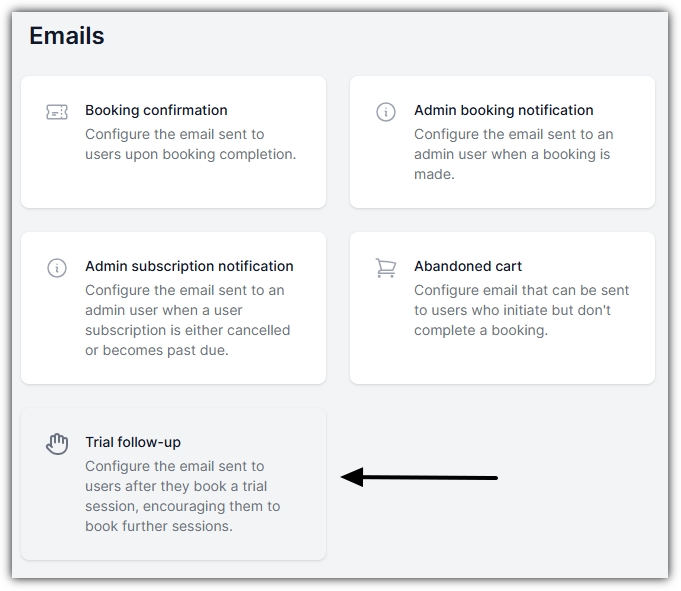
Follow-up emails (Premium only)
If you’re on a Premium plan, you can enable automated follow-up emails for trial attendees:
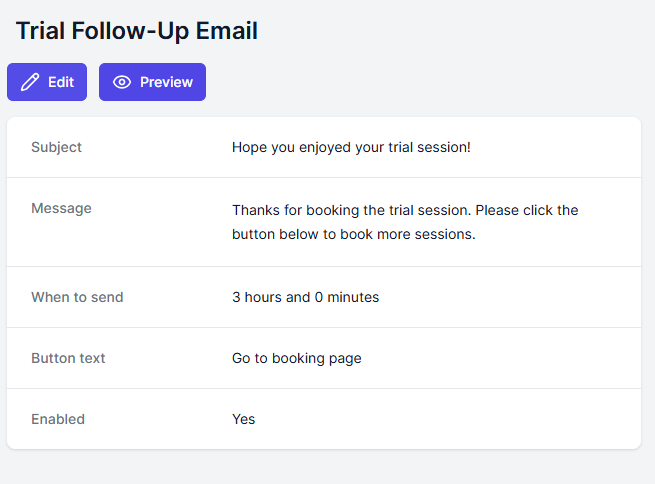
- Go to Settings > Emails > Trial Follow-Up.
- Turn the follow-up on, edit the email text, and choose when it will be sent.